|
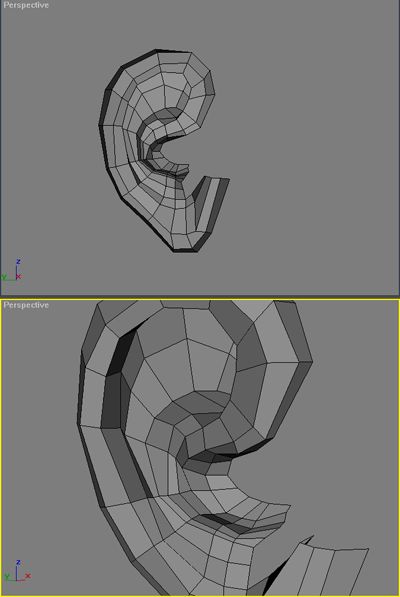
9)
...thats that
rounded bump on the inside of the ear
|
|
|
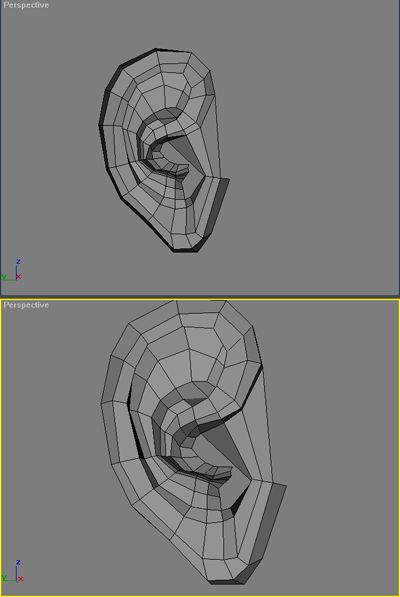
10) Now
we can go ahead with the rest of the ear by bridging the other lose
end.
|
|
|
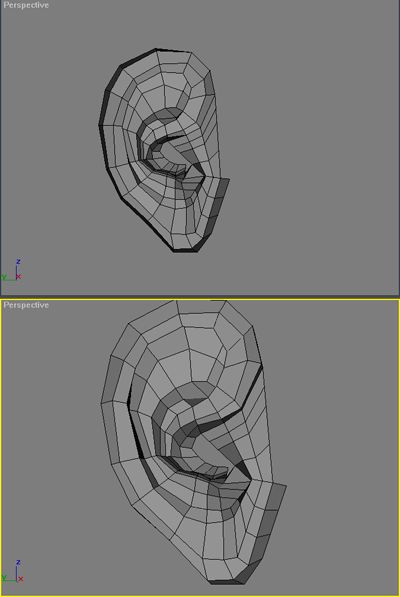
11)
...and by dividing it
a couple of times
|
|
|
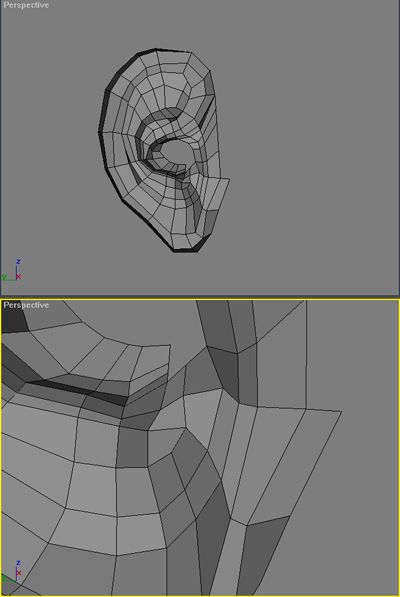
12)
We then close the
hole poly by poly, adding edges where needed
|
|
|
13) ...all
the way until we have the inside closed
|
|
|
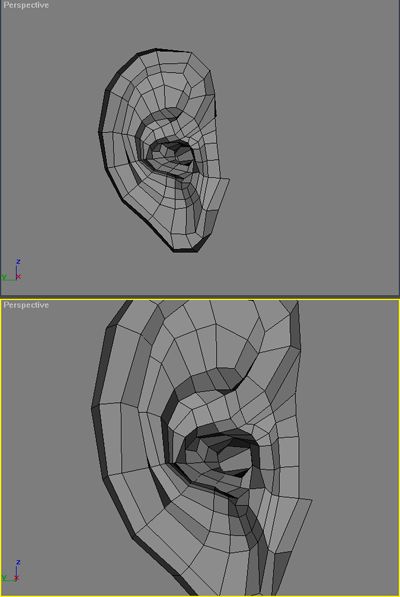
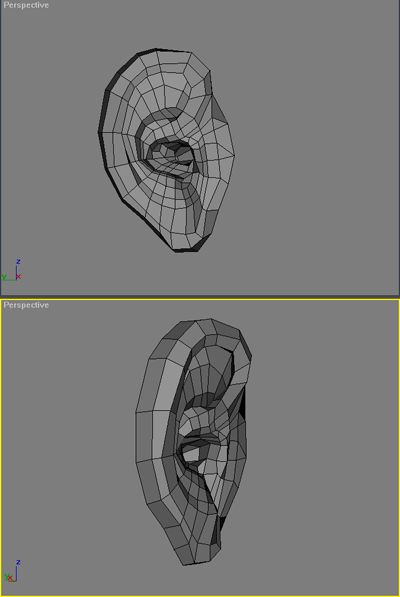
6) By
adding some more polygons and edges we touch it all up and when
subdivided should end up
with...
|
|
|
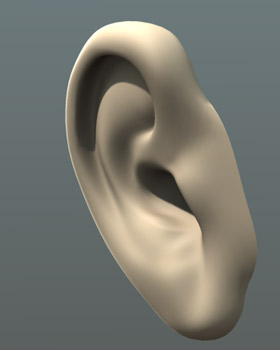
...this!
Now you can go on and
model a head you can attach them too over here
|
|